Do you dream of delicious, sun-ripened tomatoes, but lack a large backyard or allotment garden? No worries! Growing tomatoes on the balcony is surprisingly easy and incredibly fun. Even on a compact balcony, you can enjoy an abundance of sweet candy tomatoes, juicy cherry tomatoes, or sturdy bush tomatoes. In this guide, you’ll discover step-by-step how to get the most out of your balcony, from choosing the right variety to cleverly utilizing your balcony space with the right planters.
Why Growing Tomatoes on the Balcony is a Great Idea
A balcony often provides a surprisingly good microclimate for tomato plants. Tomatoes love warmth and sun. Because a balcony is often sheltered from strong winds and rain under a cover, the leaves stay drier. This reduces the chance of common plant diseases such as phytophthora, or late blight, which often strikes in wet weather.

In addition, the growing process provides immense satisfaction. There’s nothing as delicious as picking a handful of fresh tomatoes on a sunny afternoon, straight from your own plant. It brings green, color, and life to your outdoor space, no matter how small or large your balcony is.
The Best Tomato Varieties for the Balcony
Not every tomato is equally suitable for pots and containers. Large beefsteak tomatoes often grow very tall and heavy, which can be challenging on a balcony. Therefore, choose compact varieties specifically bred for containers and small spaces:
Candy Tomatoes and Cherry Tomatoes: These plants produce a huge number of small, super sweet fruits. They are very strong and ripen quickly in the sun.

Bush Tomatoes (Dwarf Tomatoes): These varieties do not grow endlessly in height but remain compact and sturdy. They need less support and fit perfectly in spacious ground-level planters.
Hanging Basket Tomatoes: Varieties that hang slightly are ideal for placing higher up or combining with other pots on your balcony.
The Ideal Location: Sun, Light, and Shelter
Tomatoes are true sun worshippers. Give them the sunniest spot on your balcony, preferably a place where they get at least 6 hours of sunlight per day. A south, southeast, or southwest-facing balcony is perfect for this.
Also ensure that the plants have sufficient air circulation but are sheltered from strong storms. If your balcony is covered, that’s a big plus, because dry leaves ensure healthy and strong tomato plants.
Cleverly Using Space on the Balcony
On a balcony, the available floor space is often scarce. After all, you also want to be able to sit comfortably with a cup of coffee or a drink. The trick is to organize your space as cleverly as possible.
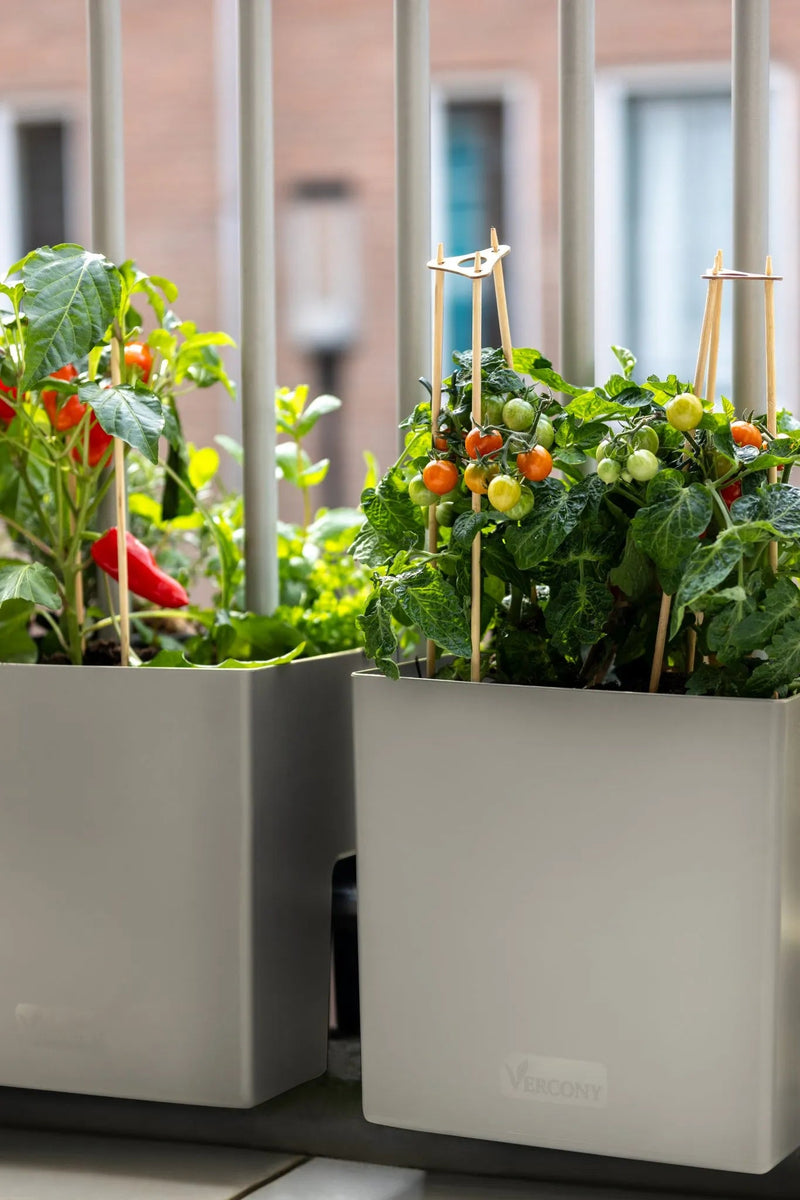
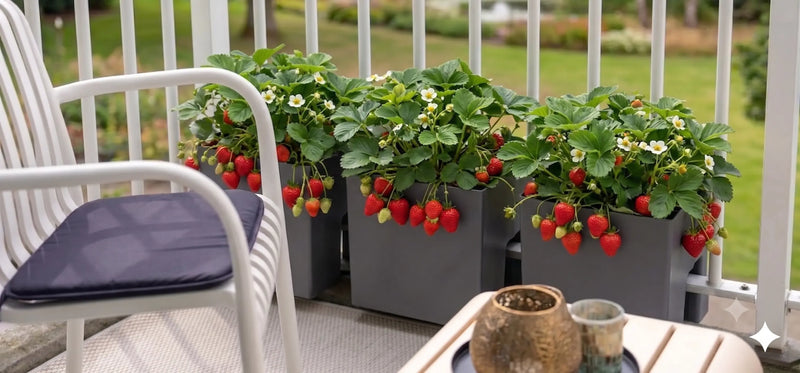
Tomato plants need a sturdy root system. A pot that is too small dries out quickly and gives the roots too little space. Therefore, a spacious, stable ground-level planter is ideal. This is where a clever solution comes in: our specific Vercony planter. You can easily place it with its legs through the railing bars onto the ground of your balcony. This makes the planter rock-solid, optimizes the use of your balcony edge, and prevents you from losing valuable walking space.
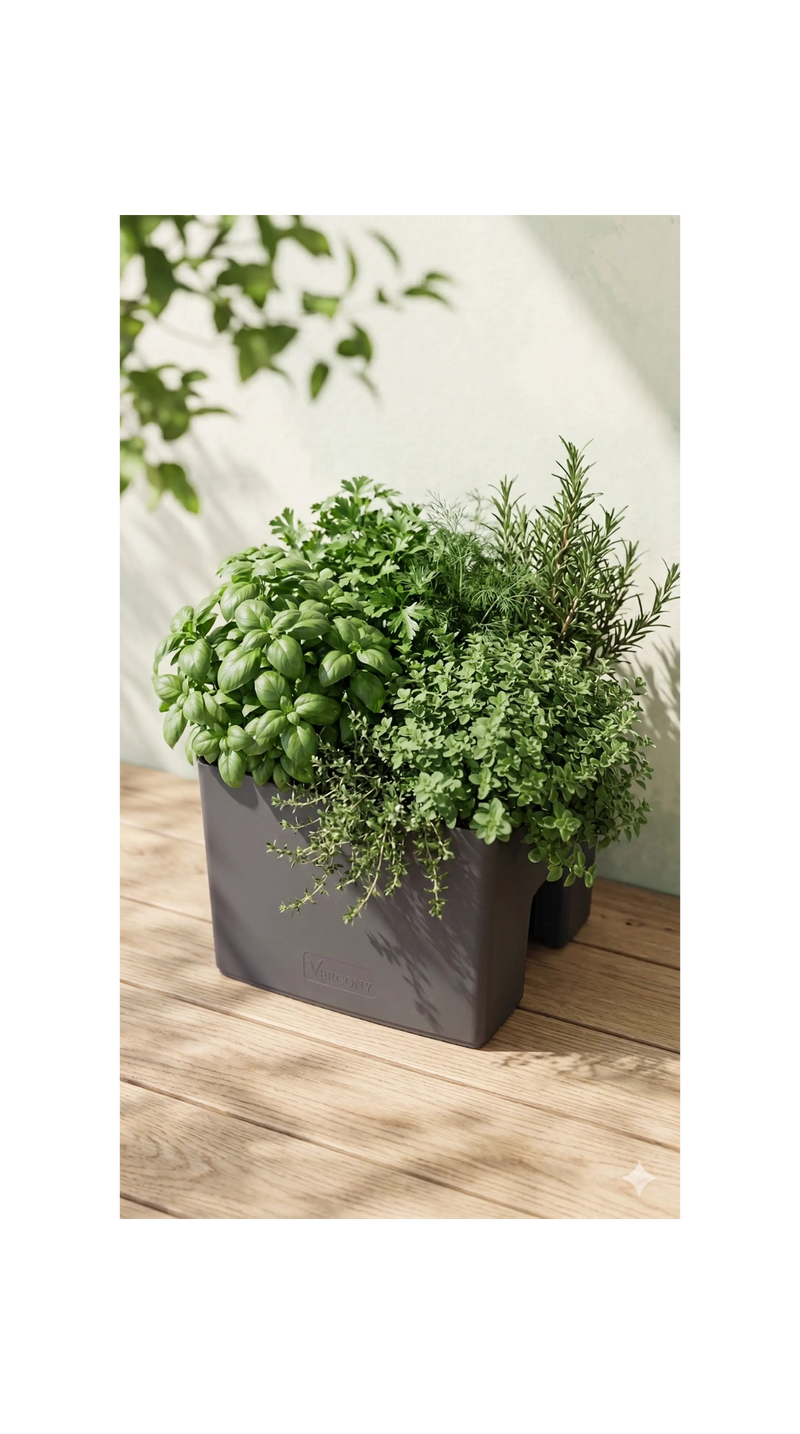
Can you combine this with other planters? Absolutely! Feel free to combine the Vercony balcony planter for your tomatoes with some loose pots in a corner or a vertical plant rack against the wall for herbs like basil. This way, you create a playful, layered, and green balcony where every centimeter is optimally utilized.
Step-by-Step Plan: From Seeds to Harvest on Your Balcony
Step 1: Sowing or Buying Ready-Made Plants
In early spring, from March, you can sow tomatoes indoors on the windowsill. If you find that too much hassle or if you're a bit later in the season, buy ready-made tomato plants in May (after Ice Saints, around May 15) from a garden center or local nursery. This saves time and provides an instant head start.
Step 2: Planting in Good Potting Soil
Tomatoes are big eaters when it comes to nutrients. Therefore, use high-quality potting soil, preferably organic potting soil for vegetables. Fill your planter, possibly mix in some organic fertilizer pellets, and plant the tomato deep. If you plant the stem a bit deeper into the soil, the plant will form extra roots on the buried part, ensuring strong anchoring.
Step 3: Providing Support
Even compact bush tomatoes can become heavy due to the weight of the ripe fruit. Immediately upon planting, place a bamboo stick, a spiral stake, or a small frame in the container to support the main stem. Loosely tie the stem with soft string or special plant clips.
Step 4: Watering and Feeding
In pots on the balcony, the soil dries out faster than in a full garden. On warm summer days, water daily, preferably early in the morning directly at the roots on the potting soil. Avoid wetting the leaves. From the first flower formation, feed the plants every two weeks with liquid organic plant food for tomatoes.
Step 5: Pruning Suckers and Topping (if necessary)
With so-called indeterminate tomatoes, small shoots, called suckers, appear in the leaf axils. Pinch them off regularly with your fingers so that all energy goes to the main stem and the fruits. For dwarf or bush tomatoes, pruning suckers is usually not necessary, which makes maintenance on your balcony even easier!